
 100% written by human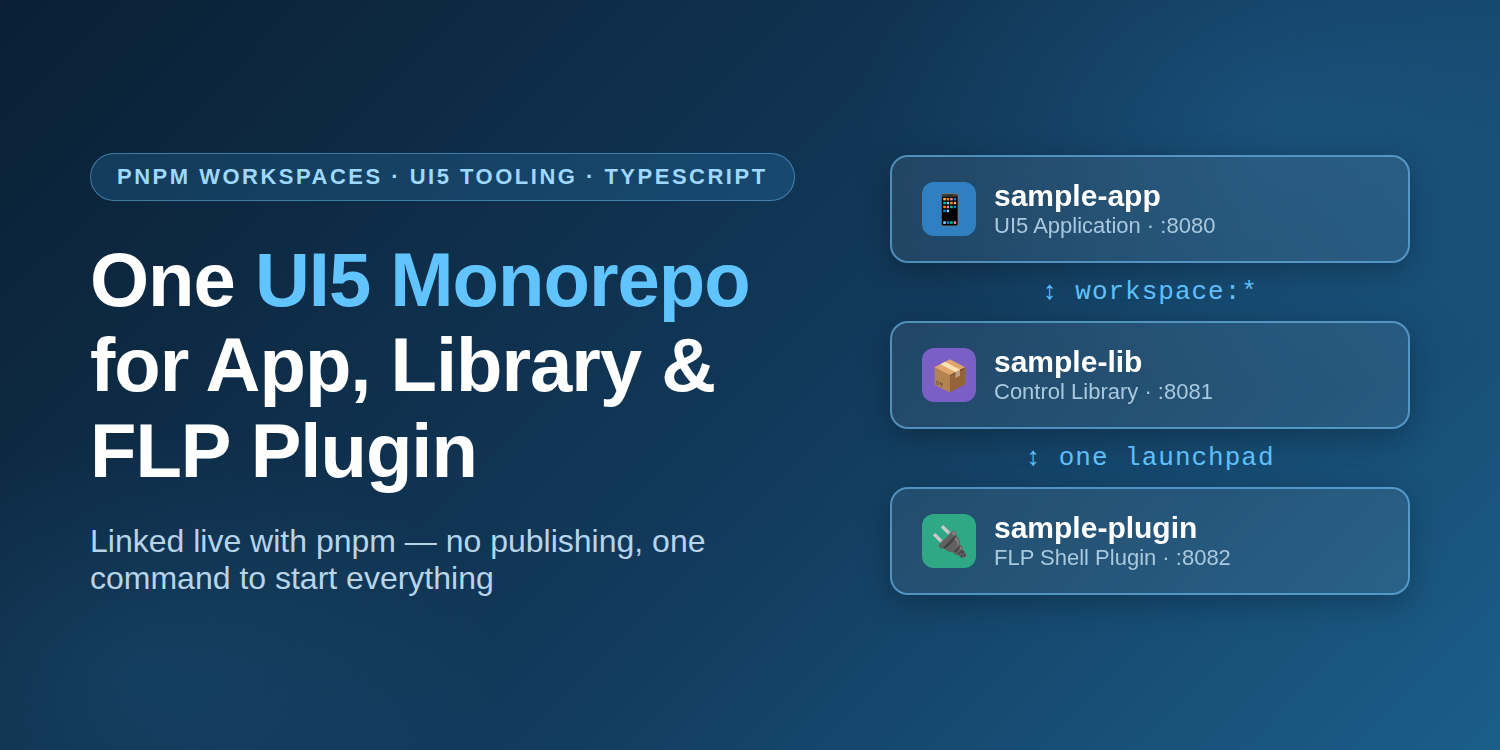
Sooner or later, every UI5 developer runs into the same situation: you have an application, and next to it a control library that the app should consume. Maybe there is even a Fiori Launchpad plugin in the mix. Three projects that belong together — but live in three separate repositories.
And then the pain starts. How do you develop the library and the app at the same time? The usual answers are all bad:
- Publish the library to a registry for every tiny change? Way too slow.
npm packand reinstall the tarball after each edit? Tedious and error-prone.- Copy the built library into the app’s
webappfolder? Please don’t. resourcerootshacks pointing at some sibling folder? Fragile and nobody on the team understands them six months later.
The good news: none of this is necessary. With pnpm workspaces and the standard UI5 Tooling, all three projects can live in one repository, link against each other live, and start with a single command — including a shared Fiori Launchpad sandbox that ties everything together.
I built a complete, working showcase for this setup:
→ GitHub Repository: ui5-monorepo-showcase
In this post, I’ll walk you through how it works — and the handful of non-obvious settings that make or break the setup.
What We Are Building
The monorepo contains three UI5 TypeScript projects plus one central launchpad sandbox:
| Package | Type | Port | Description |
|---|---|---|---|
packages/sample-app | UI5 Application | 8080 | App com.myorg.myapp, consumes the library via workspace link |
packages/sample-lib | UI5 Library | 8081 | Control library com.myorg.mylib with a custom control |
packages/sample-plugin | FLP Shell Plugin | 8082 | Launchpad plugin com.myorg.myplugin, loaded by the shell |
flpSandbox.html | Central FLP Sandbox | 8090 | One launchpad that hosts the app as a tile and loads the plugin |
flowchart LR
    subgraph FLP["Central FLP Sandbox :8090"]
        T1[Tile: Sample App]
        T2[Tile: Sample Lib]
        SHELL[Launchpad Shell]
    end

    subgraph WS["pnpm workspace"]
        APP["sample-app :8080"]
        LIB["sample-lib :8081"]
        PLUGIN["sample-plugin :8082"]
    end

    T1 -- iframe --> APP
    T2 -- iframe --> LIB
    SHELL -- bootstrapPlugins --> PLUGIN
    APP -- "workspace:* symlink" --> LIB
The app renders a custom control from the library, the library has its own test page, and the plugin adds a header button to the launchpad shell itself. Everything is TypeScript, everything reloads live.
Why a Monorepo? The Benefits in Plain Words
Before we dive into the configuration, let’s step back for a moment. Why put three projects into one repository at all? Because it removes friction in exactly the places where multi-repo setups hurt every single day:
No publishing cycle. In separate repositories, every library change means: bump the version, publish, and reinstall in the app — just to see a button render correctly. In the workspace, the app links directly against the library’s sources. You save a file in
sample-lib, reload the browser, and the change is there. That’s it.One command starts everything. New team member?
git clone,pnpm install,pnpm start— and the complete landscape is running: app, library, plugin, and the shared launchpad. No wiki page with ten setup steps, no “works on my machine”.One change, one commit. Add a property to a library control and use it in the app? In a multi-repo world that’s two pull requests that must be merged in the right order. Here it’s one atomic commit — the library change and its usage always stay in sync, and reviewers see the full picture in a single diff.
The CI catches integration breaks immediately. One pipeline typechecks, lints, and builds all packages on every push. If a library change breaks the app, you find out now — not weeks later when someone finally updates the library version in the app.
Type safety across package boundaries. Because the app’s TypeScript sees the library’s sources directly, renaming a control property immediately flags every usage in the app. Refactorings that would be scary across repositories become routine.
In short: everything that belongs together lives together — and the tooling overhead of keeping three separate repositories in sync simply disappears.
A monorepo shines when the projects are developed together and by the same team — exactly the app + library + plugin scenario shown here. Fully independent products with separate release cycles and owners can still be better off in separate repositories.
Where the Packages Come From: easy-ui5
One thing before we start: none of the three packages was written from scratch. They all come straight out of the community easy-ui5 generators — the fastest way to scaffold UI5 TypeScript projects:
| Package | Generator | Command |
|---|---|---|
packages/sample-app | generator-ui5-ts-app | yo easy-ui5 ts-app |
packages/sample-lib | generator-ui5-ts-library | yo easy-ui5 ts-library |
packages/sample-plugin | generator-ui5-ts-flp-plugin | yo easy-ui5 ts-flp-plugin |
| |
Each generator asks a handful of questions (namespace, framework version, author, …) and produces a complete, standalone project — ui5.yaml, TypeScript setup, linting, and test tooling included. And because pnpm-workspace.yaml simply declares packages/*, any project generated into the packages/ folder automatically becomes a workspace member on the next pnpm install. There is no registration step.
That also means the monorepo-specific work in this post is a surprisingly thin layer on top of the generated projects: the workspace:* link between app and library, transpileDependencies, the tsconfig path mappings, unique ports, and the central sandbox. Everything else is generator output.
Step 1: The pnpm Workspace
The foundation is a plain pnpm workspace. The root pnpm-workspace.yaml declares where the packages live:
| |
The app then consumes the library like any other npm dependency — just with the workspace: protocol instead of a version number:
| |
When you run pnpm install, pnpm does not download anything for this dependency. Instead, it creates a symlink:
| |
And here is the nice part: the UI5 Tooling follows this symlink automatically. Because the linked package contains a ui5.yaml with type: library, ui5 serve and ui5 build inside the app treat it like any regular UI5 dependency. You can verify it with ui5 tree.
No npm pack, no local registry, no manual resourceroots. Every change in the library is instantly visible in the app.
Don’t forget: the library must still be declared in the app’s manifest.json, otherwise the UI5 runtime won’t load it:
| |
Step 2: Transpiling the Linked TypeScript Library
Both the app and the library are written in TypeScript and use ui5-tooling-transpile. This is where the first trap hides.
By default, the transpile middleware only transpiles the root project. When the app requests /resources/com/myorg/mylib/library.js, the request hits the library’s TypeScript sources — and 404s. Your app boots, but the library is simply gone.
The fix is one line in the app’s ui5.yaml:
| |
With transpileDependencies: true, the app’s dev server transpiles the library’s .ts sources on the fly and serves them as JavaScript.
This option only affects the development server. Production builds are unaffected — there, each package transpiles itself with its own ui5-tooling-transpile-task.
Step 3: TypeScript Across Package Boundaries
Linking the packages at runtime is only half the story. You also want code completion and type safety across packages — for example, importing the typed press event of a library control inside the app:
| |
Two entries in the app’s tsconfig.json make this work:
| |
The *.gen.d.ts files are generated by ui5-tooling-transpile (via generateTsInterfaces: true in the library’s ui5.yaml). They contain the typed accessors (getName(), firePress(), …), the $GreetingCardSettings constructor type, and event types like GreetingCard$PressEvent.
TypeScript resolves the pnpm symlink to its real location. An include glob through node_modules/com.myorg.mylib/** will therefore never match — you have to include the files via the actual sibling path (../sample-lib/src/**/*.gen.d.ts). This one cost me some time.
In the XML view, the library control is then used like any other control:
| |
Step 4: One Command to Start Everything
With three dev servers and one static launchpad, nobody wants to open four terminals. The root package.json orchestrates everything:
| |
pnpm --recursive --parallel run startruns thestartscript of every workspace package at the same time (--streamprefixes each output line with the package folder — very helpful).run-pfromnpm-run-all2additionally starts the statichttp-serverthat serves the centralflpSandbox.html.
Each package pins its own unique port and does not open a browser — only the central launchpad does:
| |
So the whole developer experience boils down to:
| |
…and the launchpad opens at http://localhost:8090/flpSandbox.html with the app as a tile, the library test page as a second tile, and the plugin’s header button already in the shell.
pnpm --parallel starts all servers at once. If two packages default to the same port, one of them dies with EADDRINUSE — so pin a distinct port in every package’s start script.
Step 5: The Central FLP Sandbox
The most interesting part of the showcase is the shared launchpad. flpSandbox.html bootstraps the classic Fiori Launchpad sandbox from the SAPUI5 CDN and wires all three projects together via window["sap-ushell-config"]:
| |
Note the difference between the two mechanisms:
- Applications appear as tiles and open in an iframe when clicked.
- The plugin is not a tile. The shell itself fetches its
manifest.jsonandComponent.jsat startup and runs the component inside the launchpad — in the showcase it registers a header button via the modernExtensionservice. If you want to dive deeper into plugins, I wrote a dedicated post about Fiori Launchpad plugins with TypeScript.
Cross-Origin Hurdle #1: Iframe Embedding
The tiles use applicationType: "URL", so the app on :8080 is embedded as an iframe from a different origin than the launchpad on :8090. UI5’s clickjacking protection would normally block all interaction — you get the blocked cursor 🚫 and a console error about a missing allowlist. The app therefore allows embedding in its bootstrap:
| |
allow disables clickjacking protection entirely — fine on localhost, not in production. There, use trusted with an explicit allowlist:
data-sap-ui-frame-options-config='{"allowlist": ["your-flp-host"]}'
Growing the Workspace: Adding More Projects
The best part of this setup is that it doesn’t stop at three packages. Adding a fourth project — say, a second app — follows the exact same recipe as the first three. Here is the complete checklist.
1. Scaffold it with easy-ui5
Generate the new project directly into the packages/ folder:
| |
Because the workspace declares packages/*, the new project is picked up automatically — pnpm install links it into the workspace and you are done. No config file to touch.
2. Give it a unique port
The generated start script needs two small edits: pin a free port and make sure it does not open a browser (only the central launchpad does that). In our setup, 8080–8082 and 8090 are already taken, so the next app gets 8083:
| |
That’s all the orchestration needed — the root pnpm start runs the start script of every workspace package, so the new server comes up automatically alongside the others.
3. Register it in the launchpad
To make the new app appear as a tile, add one entry to window["sap-ushell-config"] in flpSandbox.html:
| |
4. Allow iframe embedding
Like every app embedded cross-origin in the sandbox, the new app must permit framing in its index.html:
| |
5. Consuming the shared library? Repeat the linking steps
If the new app should also use com.myorg.mylib, apply the same three settings shown earlier for sample-app:
"com.myorg.mylib": "workspace:*"in itspackage.json(thenpnpm install),- the library in its
manifest.jsonundersap.ui5/dependencies/libs, transpileDependencies: truein itsui5.yaml, plus thetsconfig.jsonpath mapping and the*.gen.d.tsinclude for typed imports.
6. Scripts and CI: nothing to do
This is where the monorepo pays off again. The root scripts and the CI pipeline all use pnpm --recursive, so they discover the new package automatically — pnpm start, pnpm -r run build, typecheck, and lint just include it from now on. The only convention to follow: use the same script names as the other packages (start, build, ts-typecheck, lint, test), because that is what the recursive runs invoke. A package that lacks one of these scripts is silently skipped.
Scaffold into packages/ → pnpm install → unique port, no browser-open → tile or bootstrapPlugins entry in flpSandbox.html → frame-options: allow (apps) → consistent script names. That’s it.
Gotchas & Lessons Learned
A quick checklist of everything that can silently break this setup:
transpileDependencies: truein the consuming app — otherwise the linked TypeScript library 404s at runtime.- Unique ports per package —
pnpm --parallelkills colliding servers withEADDRINUSE. data-sap-ui-frame-options="allow"in every app embedded cross-origin in the sandbox.- Pin the CDN version for the classic FLP sandbox (
1.120.x) — and always with the full patch version in the URL. - pnpm build scripts — postinstall scripts of dependencies (esbuild, browser drivers, …) must be explicitly allowed via
allowBuildsinpnpm-workspace.yaml, otherwise pnpm skips them. *.gen.d.tsincludes via the real path, not throughnode_modules— TypeScript resolves the symlink.
Conclusion
A pnpm workspace turns the classic “app + library + plugin” pain into a genuinely pleasant setup: one git clone, one pnpm install, one pnpm start — and you develop all three projects live against each other, with full TypeScript support across package boundaries and a shared launchpad that shows the complete picture.
The best part is how little magic is involved. The workspace: protocol and the symlink-following UI5 Tooling do the heavy lifting; the rest is a handful of well-placed configuration lines (transpileDependencies, paths, CORS, frame options) that you now know about.
The complete, working setup — including CI, tests, and the custom control with generated TypeScript interfaces — is on GitHub. Clone it, run it, and steal whatever you need for your own projects:
Useful links:
- ui5-monorepo-showcase on GitHub
- pnpm workspaces & the
workspace:protocol - ui5-tooling-transpile
- UI5 Tooling custom middleware
- My post on Fiori Launchpad plugins with TypeScript
Frequently Asked Questions
Does this setup also work with npm or Yarn workspaces instead of pnpm?
node_modules, and npm workspaces and Yarn workspaces create those as well. The workspace:* protocol shown in this post is pnpm/Yarn syntax — with npm workspaces you reference the package with a regular version range instead. I prefer pnpm because it is fast, strict about undeclared dependencies, and its workspace features (--filter, --recursive --parallel) make the orchestration scripts very compact.Do I have to build the library before I can start the app?
transpileDependencies: true in the app’s ui5.yaml, the app’s dev server transpiles the library’s TypeScript sources on the fly. You edit a control in sample-lib, reload the app, and see the change immediately. A build of the library is only needed for production (pnpm -r run build).What happens in production — are the packages still linked?
ui5 build and is deployed as an independent artifact — for example, the app and the library as separate BSP applications on ABAP, or separate HTML5 apps on BTP. The app finds the deployed library at runtime through its manifest.json dependency, exactly as with any standard UI5 library. Alternatively, a self-contained build can bundle the library into the app.Does this work without TypeScript, too?
transpileDependencies, and the tsconfig.json path mappings entirely; the symlinked library is served as-is.